
One of the real pleasures of attending SOLIDWORKS World is catching up with many friend from the SOLIDWORKS Community. Last year I had the opportunity to meet Tony Glockler – Co-Founder of SolidProfessor and Michelle Stansbury (Public Relations Ninja). Through this meeting and over the past twelve months I’ve been able to explore the online learning experience that SolidProfessor provides.
SOLIDWORKS World 2016 – Dallas gave me the chance to catch up with Tony (and Michelle) once more. Tony and I share a few common interests. One of those being Volkswagen T3 Campervans, along with the enjoyment of the outdoors/ wilderness and travel in general. Somewhere in our conversation we did manage to talk SolidProfessor and the ongoing expansion of subjects being covered by SolidProfessor.
Their latest offering is available to those who have access to the SOLIDWORKS (or Autodesk) SolidProfessor training modules and sees a move into 3D Printing. There are two modules a Introduction to 3D Printing with 2 hours of video over 27 lessons, and 3D Printing with MakerBot, with 18 lessons over a single hour. 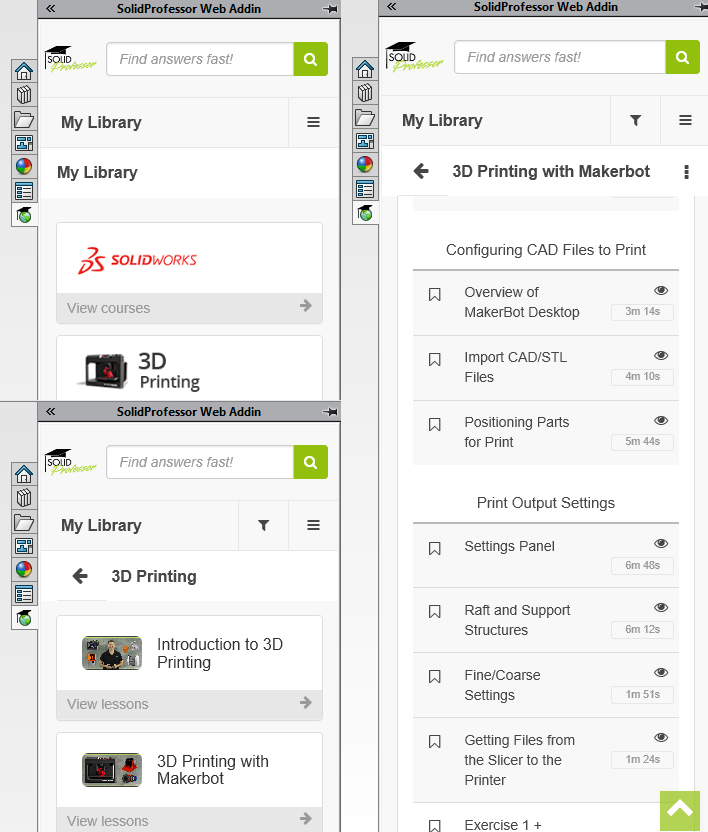 The MakerBot course follows the SolidProfessor proven formula. Training modules of around 3 to 5 minutes in duration. Each providing a detailed step by step explanation of all aspects of the MakerBot Desktop application.
 The Introduction to 3D Printing is a little different. Although the modules are still of a similar length they are presented in more of a face to face teaching style. The first parts of the course covers history and 3D printing technologies before moving into the introduction of a variety of 3D printing applications. Although I don’t have a great deal of experience with 3D printers I would like to think that I have a reasonable knowledge of Additive Manufacture. Although much of the course appears to be aimed at the “Maker” movement (and it is titled Introduction) I found it quite informative and certainly pick up a few things I was unaware of.
 By coincidence I just happened to have a Makerbot Replicator 2X in the house. Whilst technically it is not mine, it does live in MY garage! It belongs to my son who brought it whilst studying Industrial Design at university. It solved many a problem for him with doing assignment and the need for physical models. It also prevented me from finding him asleep in the garage at 3am in the middle of winter! Heater on, a home made baking oven drying paint, open tins of thinners and a assignment due in that morning! It also made him a little cash! Where else can a fellow university student find a 24hour, 7 day a week 3D Printing service!
Over the years it has been in MY garage he has never let me use it. (What would I know about manufacturing!) Besides when I had the need for things to be printed it was just as simple to send him a file and let him play with his machine!
Now by chance he just happens to be out of the country on another of his own adventures! Having proclaimed last year, after finishing university, “I’ve work so hard for the past 4year at Uni that I’m going to take a year off before I settle into a proper job” HARD WORK! 40years and I still can’t seem to get more than a couple of weeks off!
Although I am slightly envious of his adventure! He’s a cyclist (and a bike builder)! First it was 2months riding down the West coast of the USA! (Some Images) Then followed by busing/ travels around Central America (Some Images) And now currently cycling the South Island of New Zealand!
With a quiet Sunday morning, MakerBot Desktop installed and access to both a MakerBot & SolidProfessor – 3D Printing with MakerBot tutorials I was ready for my first 3D Printing experience!
What better model(s) to choose for my first print than my Chess pieces! These are models I did as a Surfacing exercise some 5 or 6 years ago now. They normally server a purpose for testing various Rendering setting & features.
 Now was a good opportunity to utilise the MakerBot for one of 3D Printers primary purposes. Producing a physical model to review for size and fit.
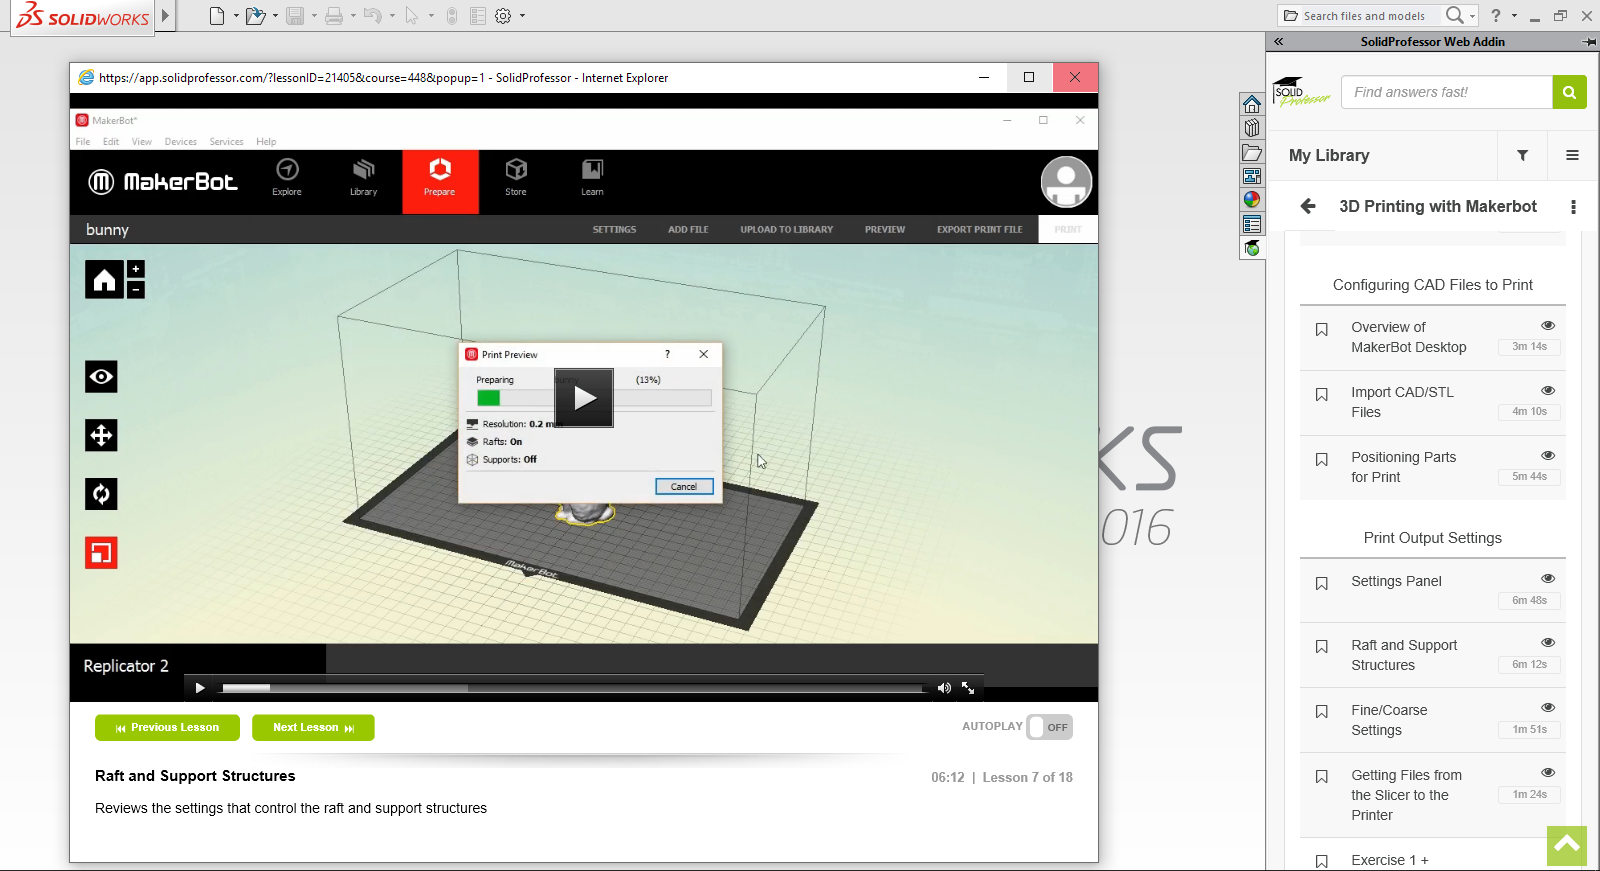
After watching all of the SolidProfessor modules for 3D Printing with MakerBot I was ready to proceed. Save the SOLIDWORKS Part file to .stl. Import to MakerBot Desktop and follow the learned process. A review of MakerBot own videos on setting up and screen display I was ready for printing!

It was nice to finally hold a physical model in my hand. (More so than I expected)
By using the SolidProfessor training course I could proceed straight into programing the parts. No hit or miss straight up. I knew where each setting was & how the feature could be used. Thus ensure a correct first up print with the addition of some more advanced features of raft and supports.
For more information on SolidProfessor have a look at the available courses. Take advantage of being able to view the first five videos in their courses and test their suitability for your own purpose.

Leave a comment