
Arguably digital cameras have had the greatest influence on photography since the invention of the camera it’s self. It has lifted many restrictions on creativity with its ability to review the image at the time it was taken. Along without the worry of running out of film (or the cost to processing) one can afford to be far more experimental with the images that are taken.
Now that nearly everyone has a camera on them twenty four hours a day there has never been a better time for interest in photography. Photographer are always looking for different lenses and accessories. This includes a trend for phone lenses. Especially Wide Angle and Fisheye lenses,
However photographer have always been a creative lot and they don’t always rely on lenses for that. So ever since there have been shiny things there has been cameras pointed at them!
Image taken form Totally Cool Pix (totallycoolpix.com) - 2012 Tour de France

And who hasn’t taken a mirror selfie!  So where does that leave us when it comes to cameras and “Photorealistic” Rendering in PhotoView 360. Taking some clues from pointing cameras at shiny things I thought I would see what would happen if I did.
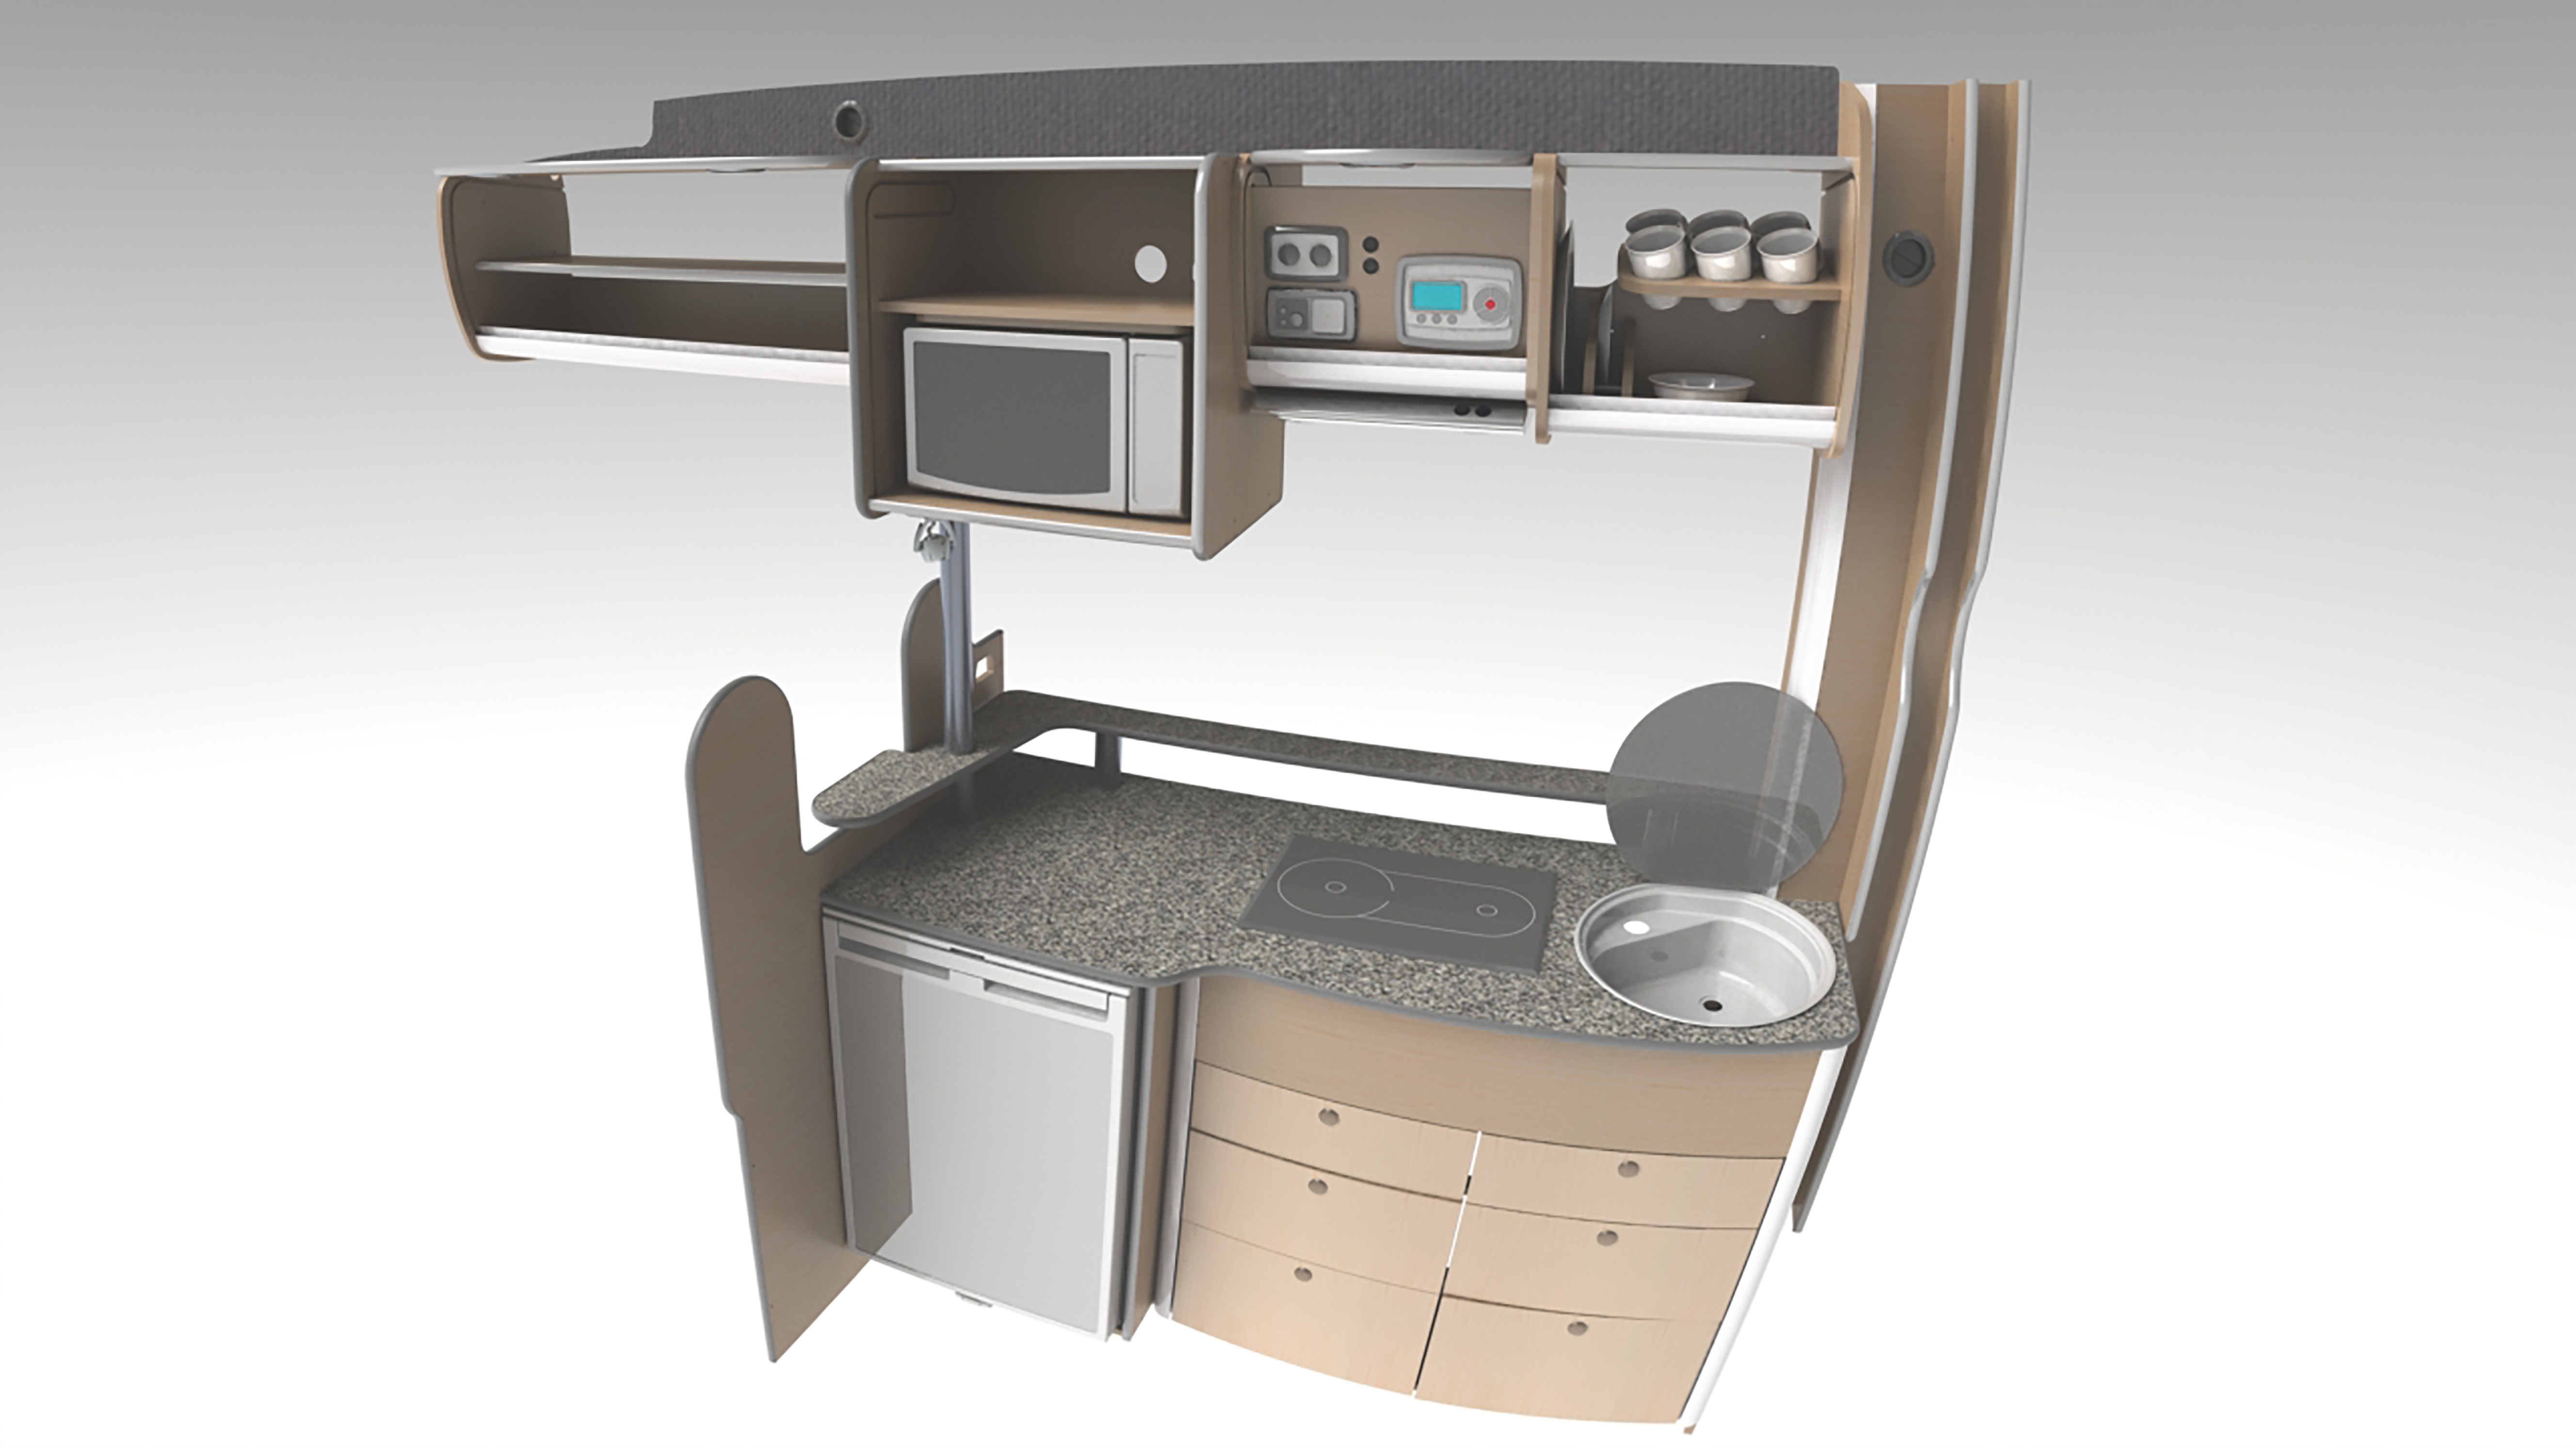
Starting with a Cabinet Assembly I have I set the render with a Scene – Grey with Overhead light and a Environment – Studio Room. Taking a more trial and error than a scientific approach lets see what happened.
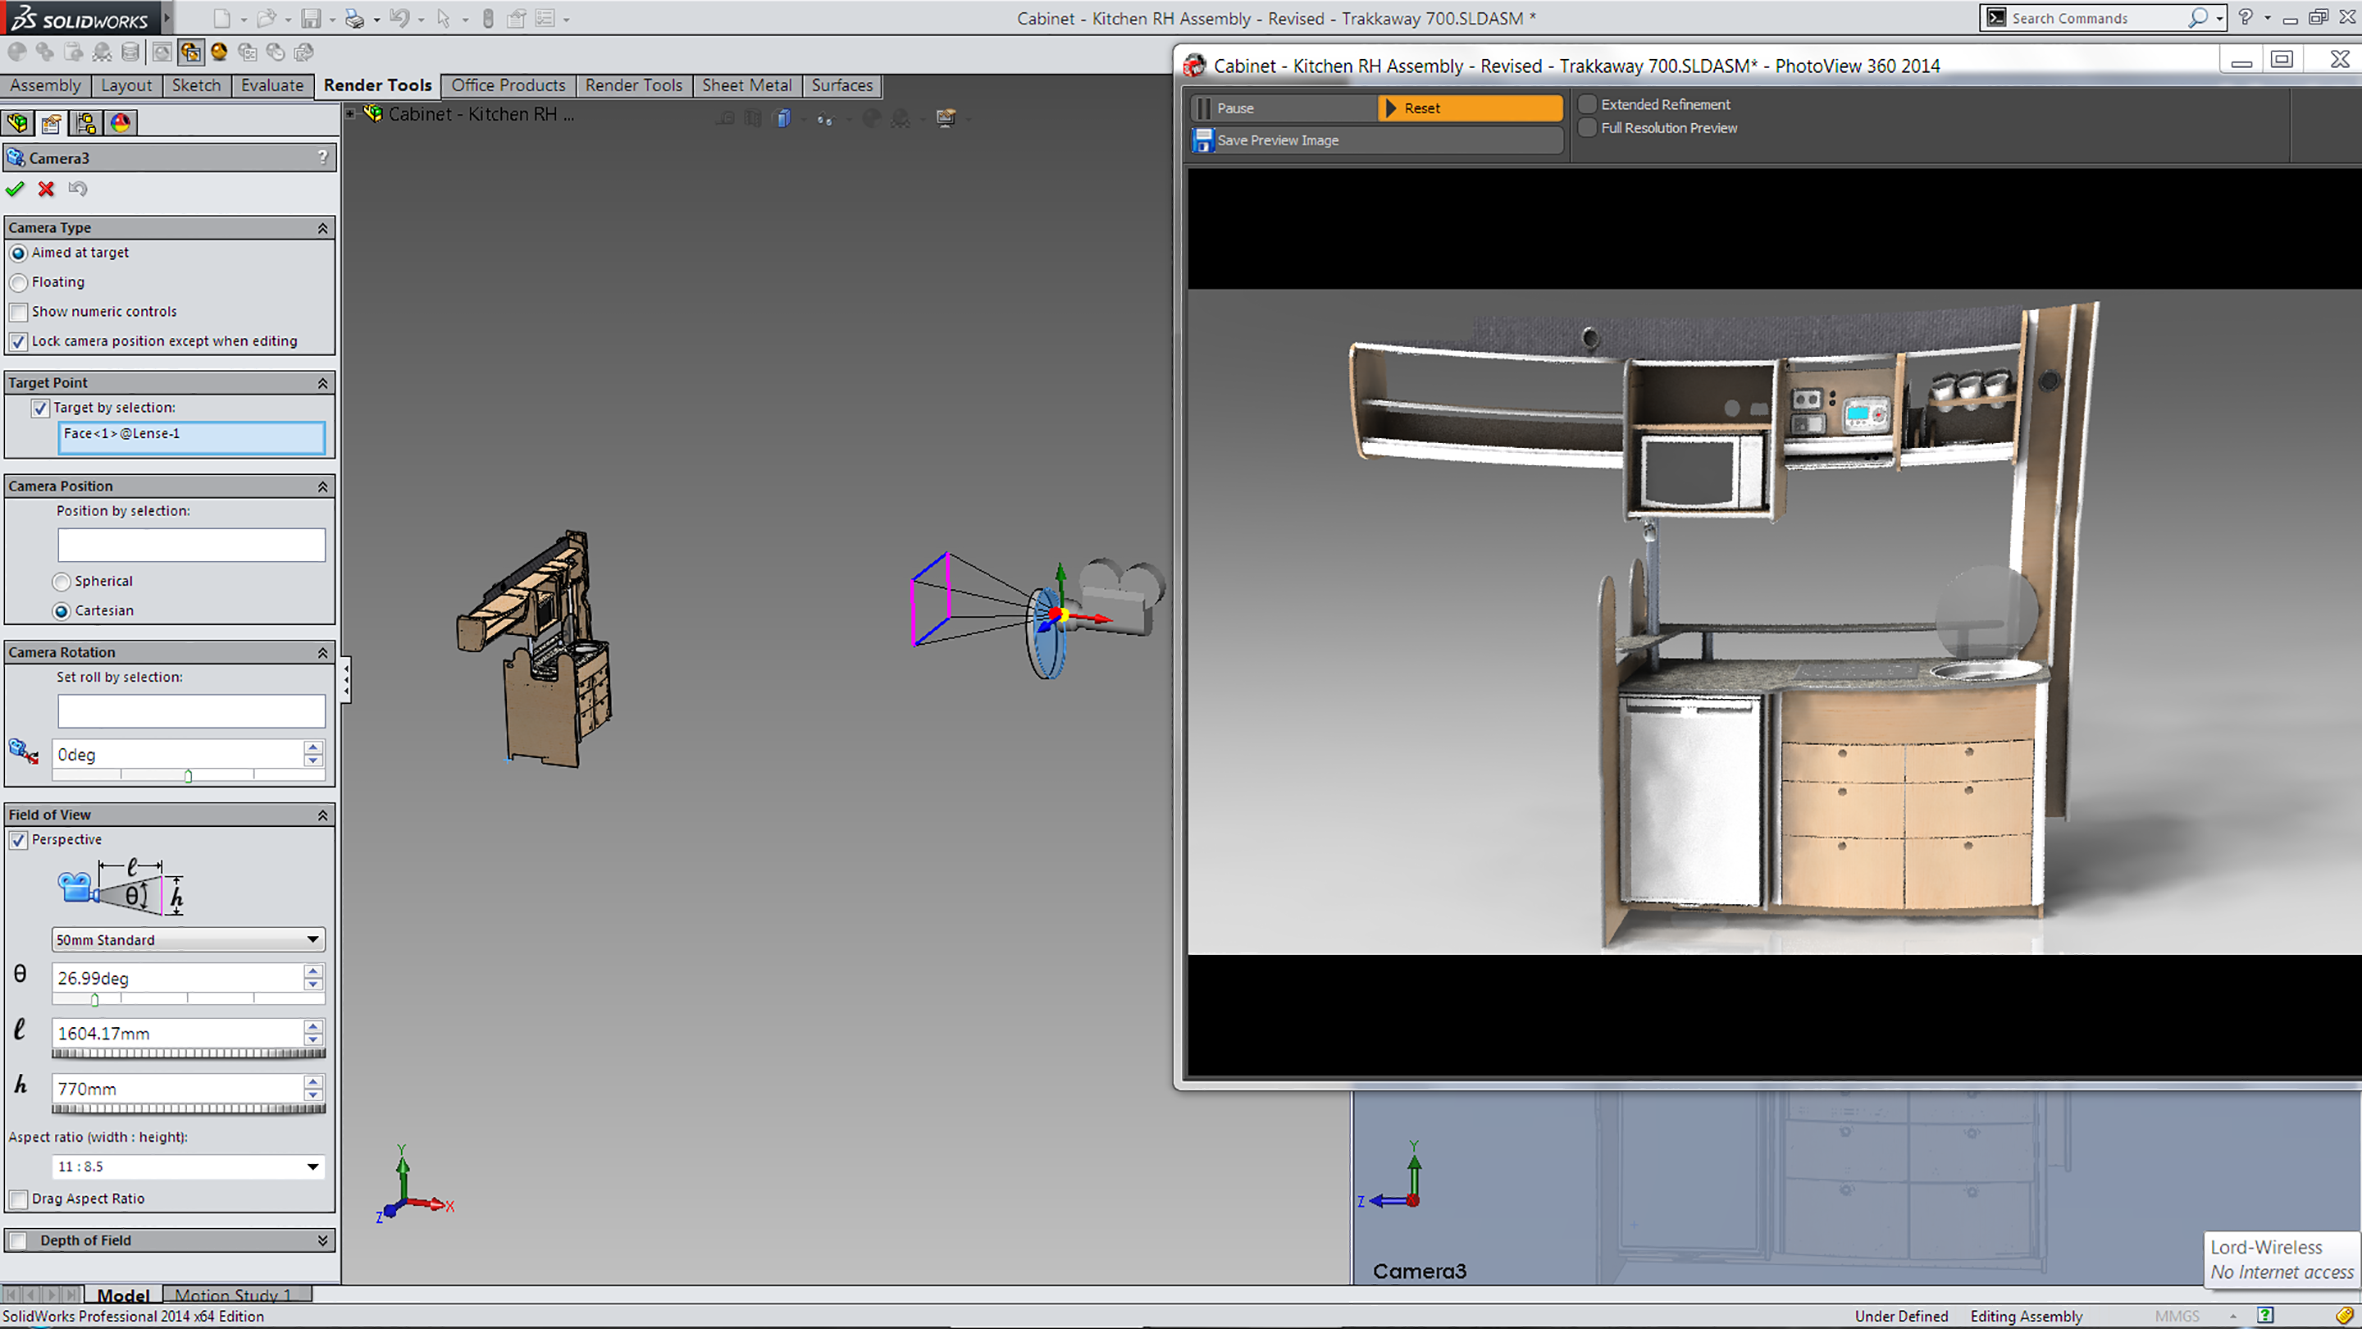
I creating a bi-convex sphere and added a Mirror material (Mirror ball). Add to the Assembly and position. Set up the render and add a Camera. Point the camera at the mirror ball and although I don’t show in the screen shot Preview Window for the Render. Adjust the position of the Camera as required (and where it looked at the sphere)! The size (and the position) of the sphere can also be a changed to give different results.
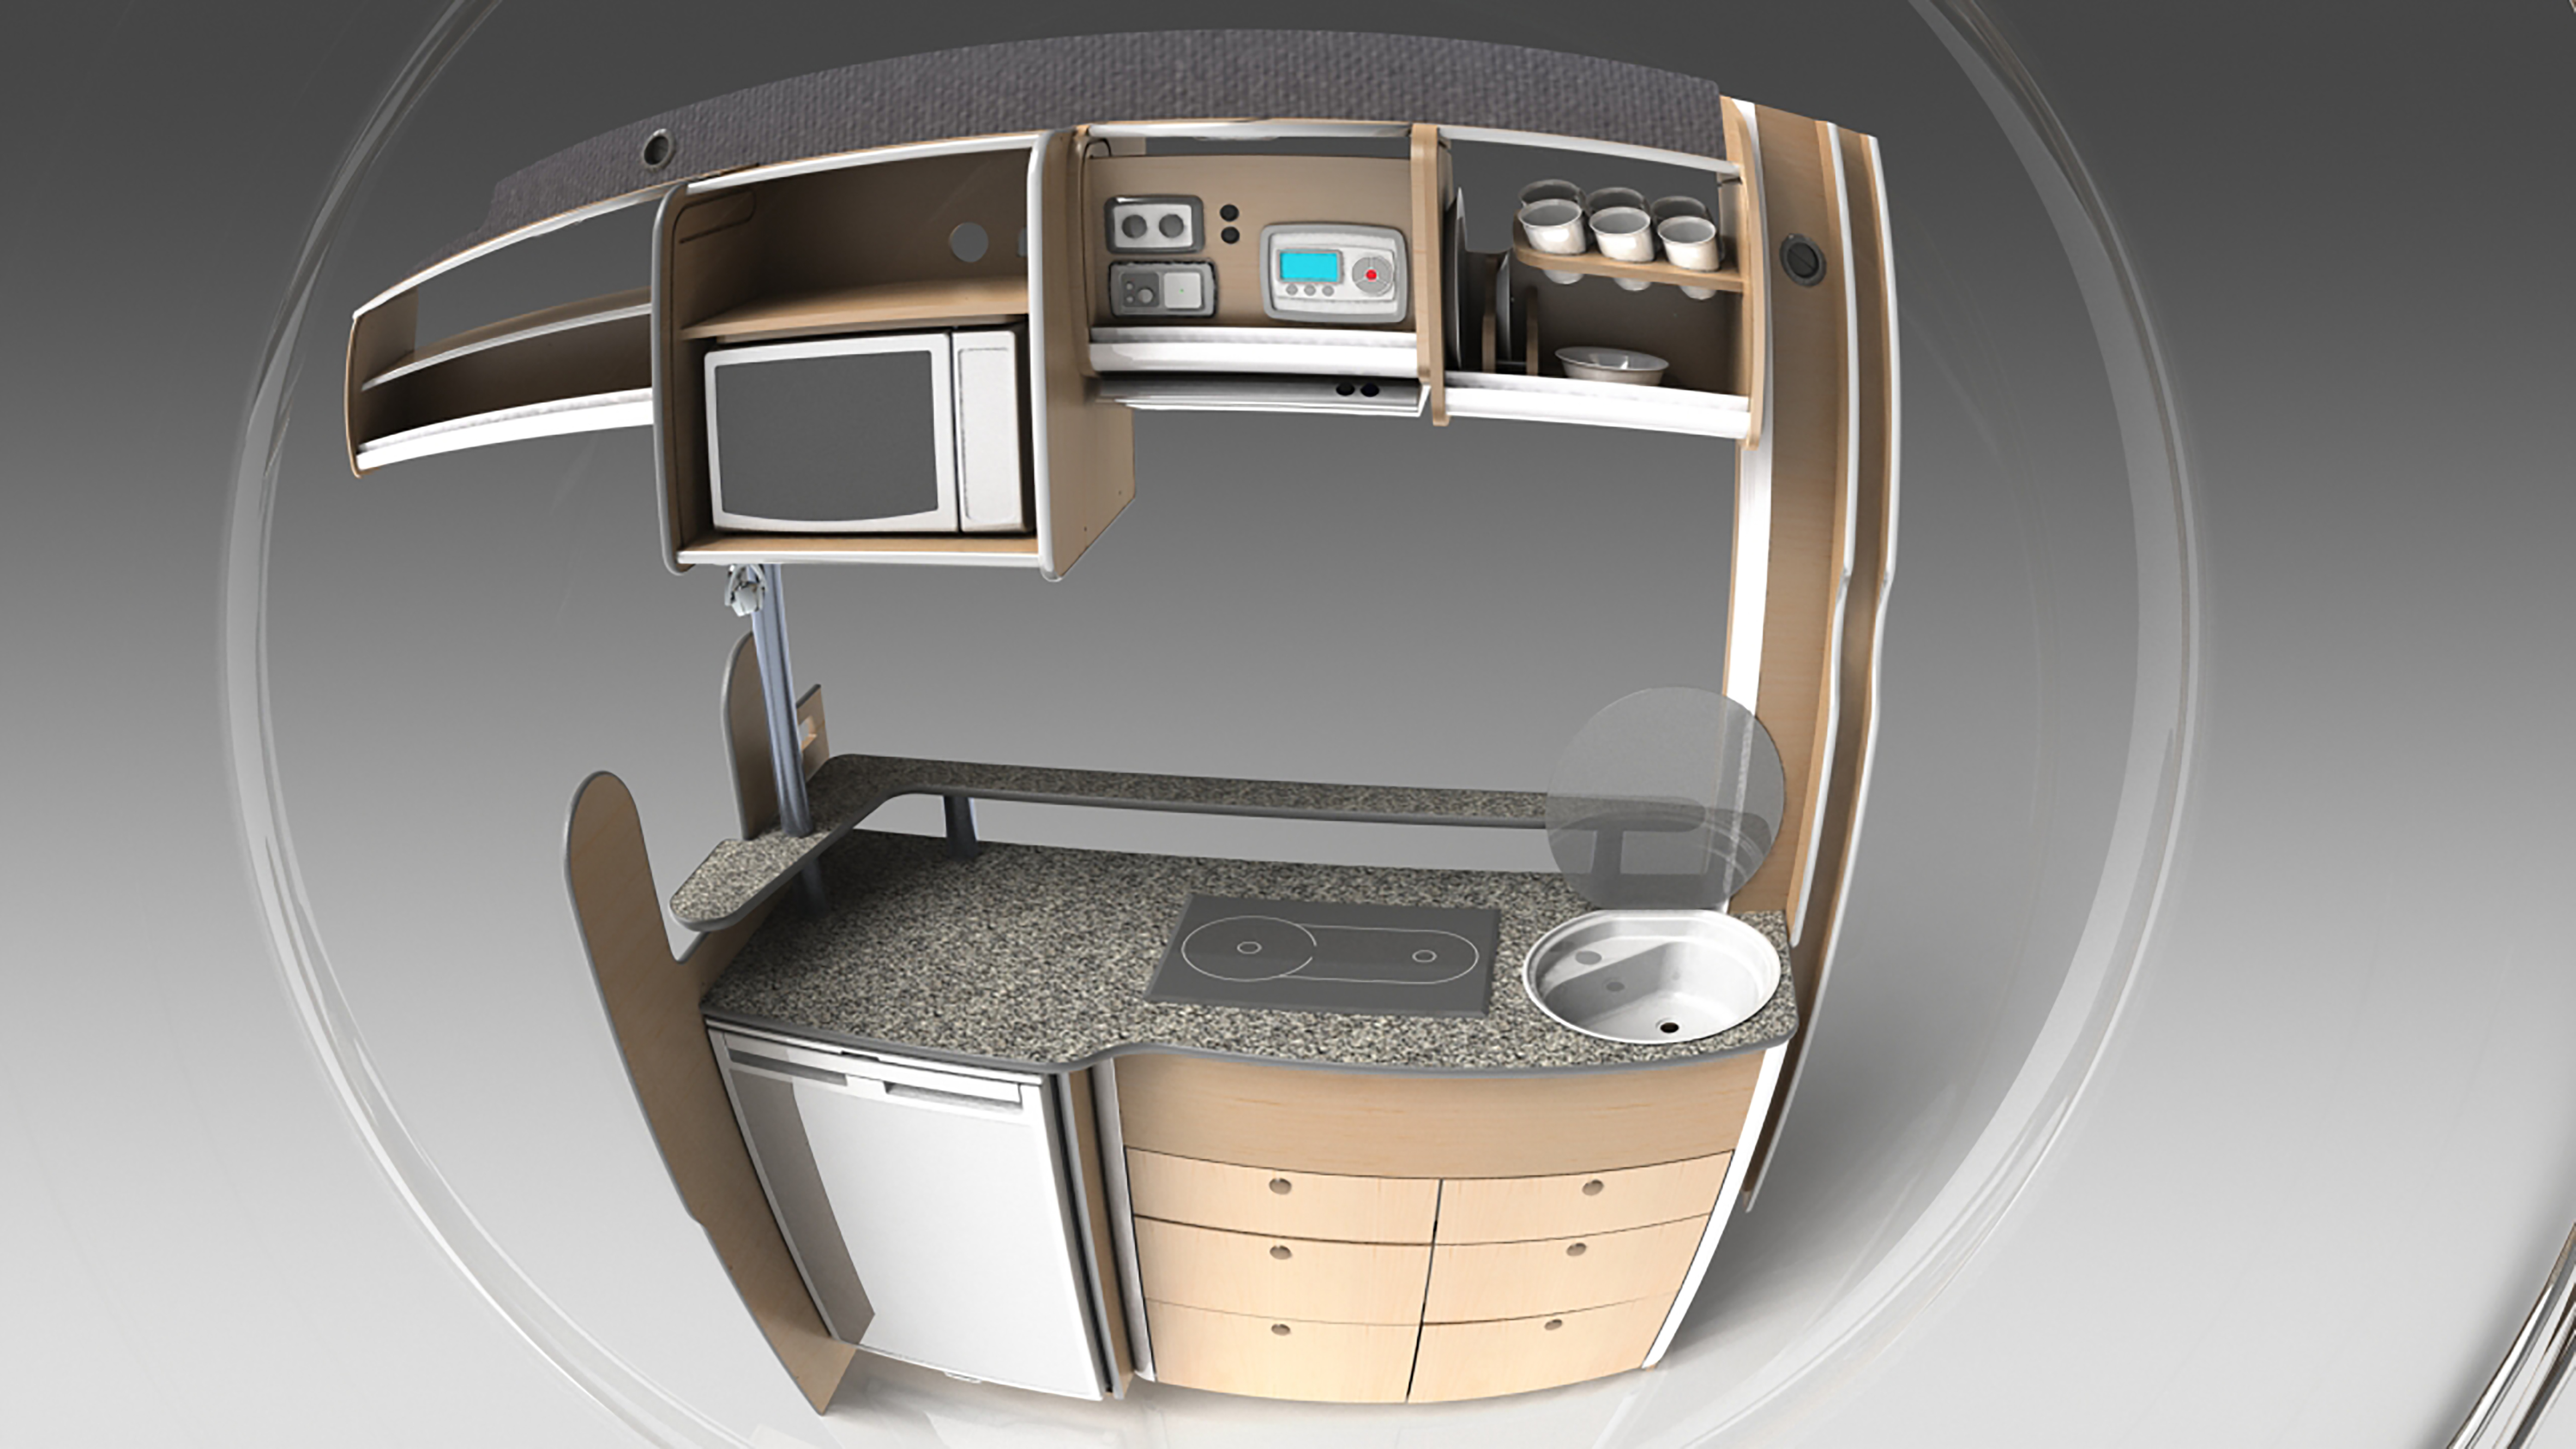
 The final result was a “Fisheye” view. The render was actually mirrored (as you get when looking into a mirror) and required a simple post render mirror. Easily achieved by most programs that can view images

If I achieve a fisheye convex result using a convex mirror then surely if I use a concave mirror then I should get a a concave result in the Render
 Maybe not! No matter where I pointed the camera or positioned the mirror it wasn’t going to give me the result I was expecting
At this stage I thought I should move away from “mirrors” and see what results I would achieve if I added an artificial lens in front of the Camera! Created a concave lens camera side and a flat face then add a Material of Clear Glass
 Similar result! With the position of the camera away from the lens it was viewing the edge of the shape. Which has given it the round “Fisheye” you get with many “Fisheye” camera lenses
 Time for a re-think and some more thought about the lens shape! In the end I came up with a bi-convex lens (and a bigger physical size!)
 Finally got it to curve the other way!
 After seeing the results achieved by adding a lens in front of the camera, what if that lense was a very different shape! A double tetrahedron!
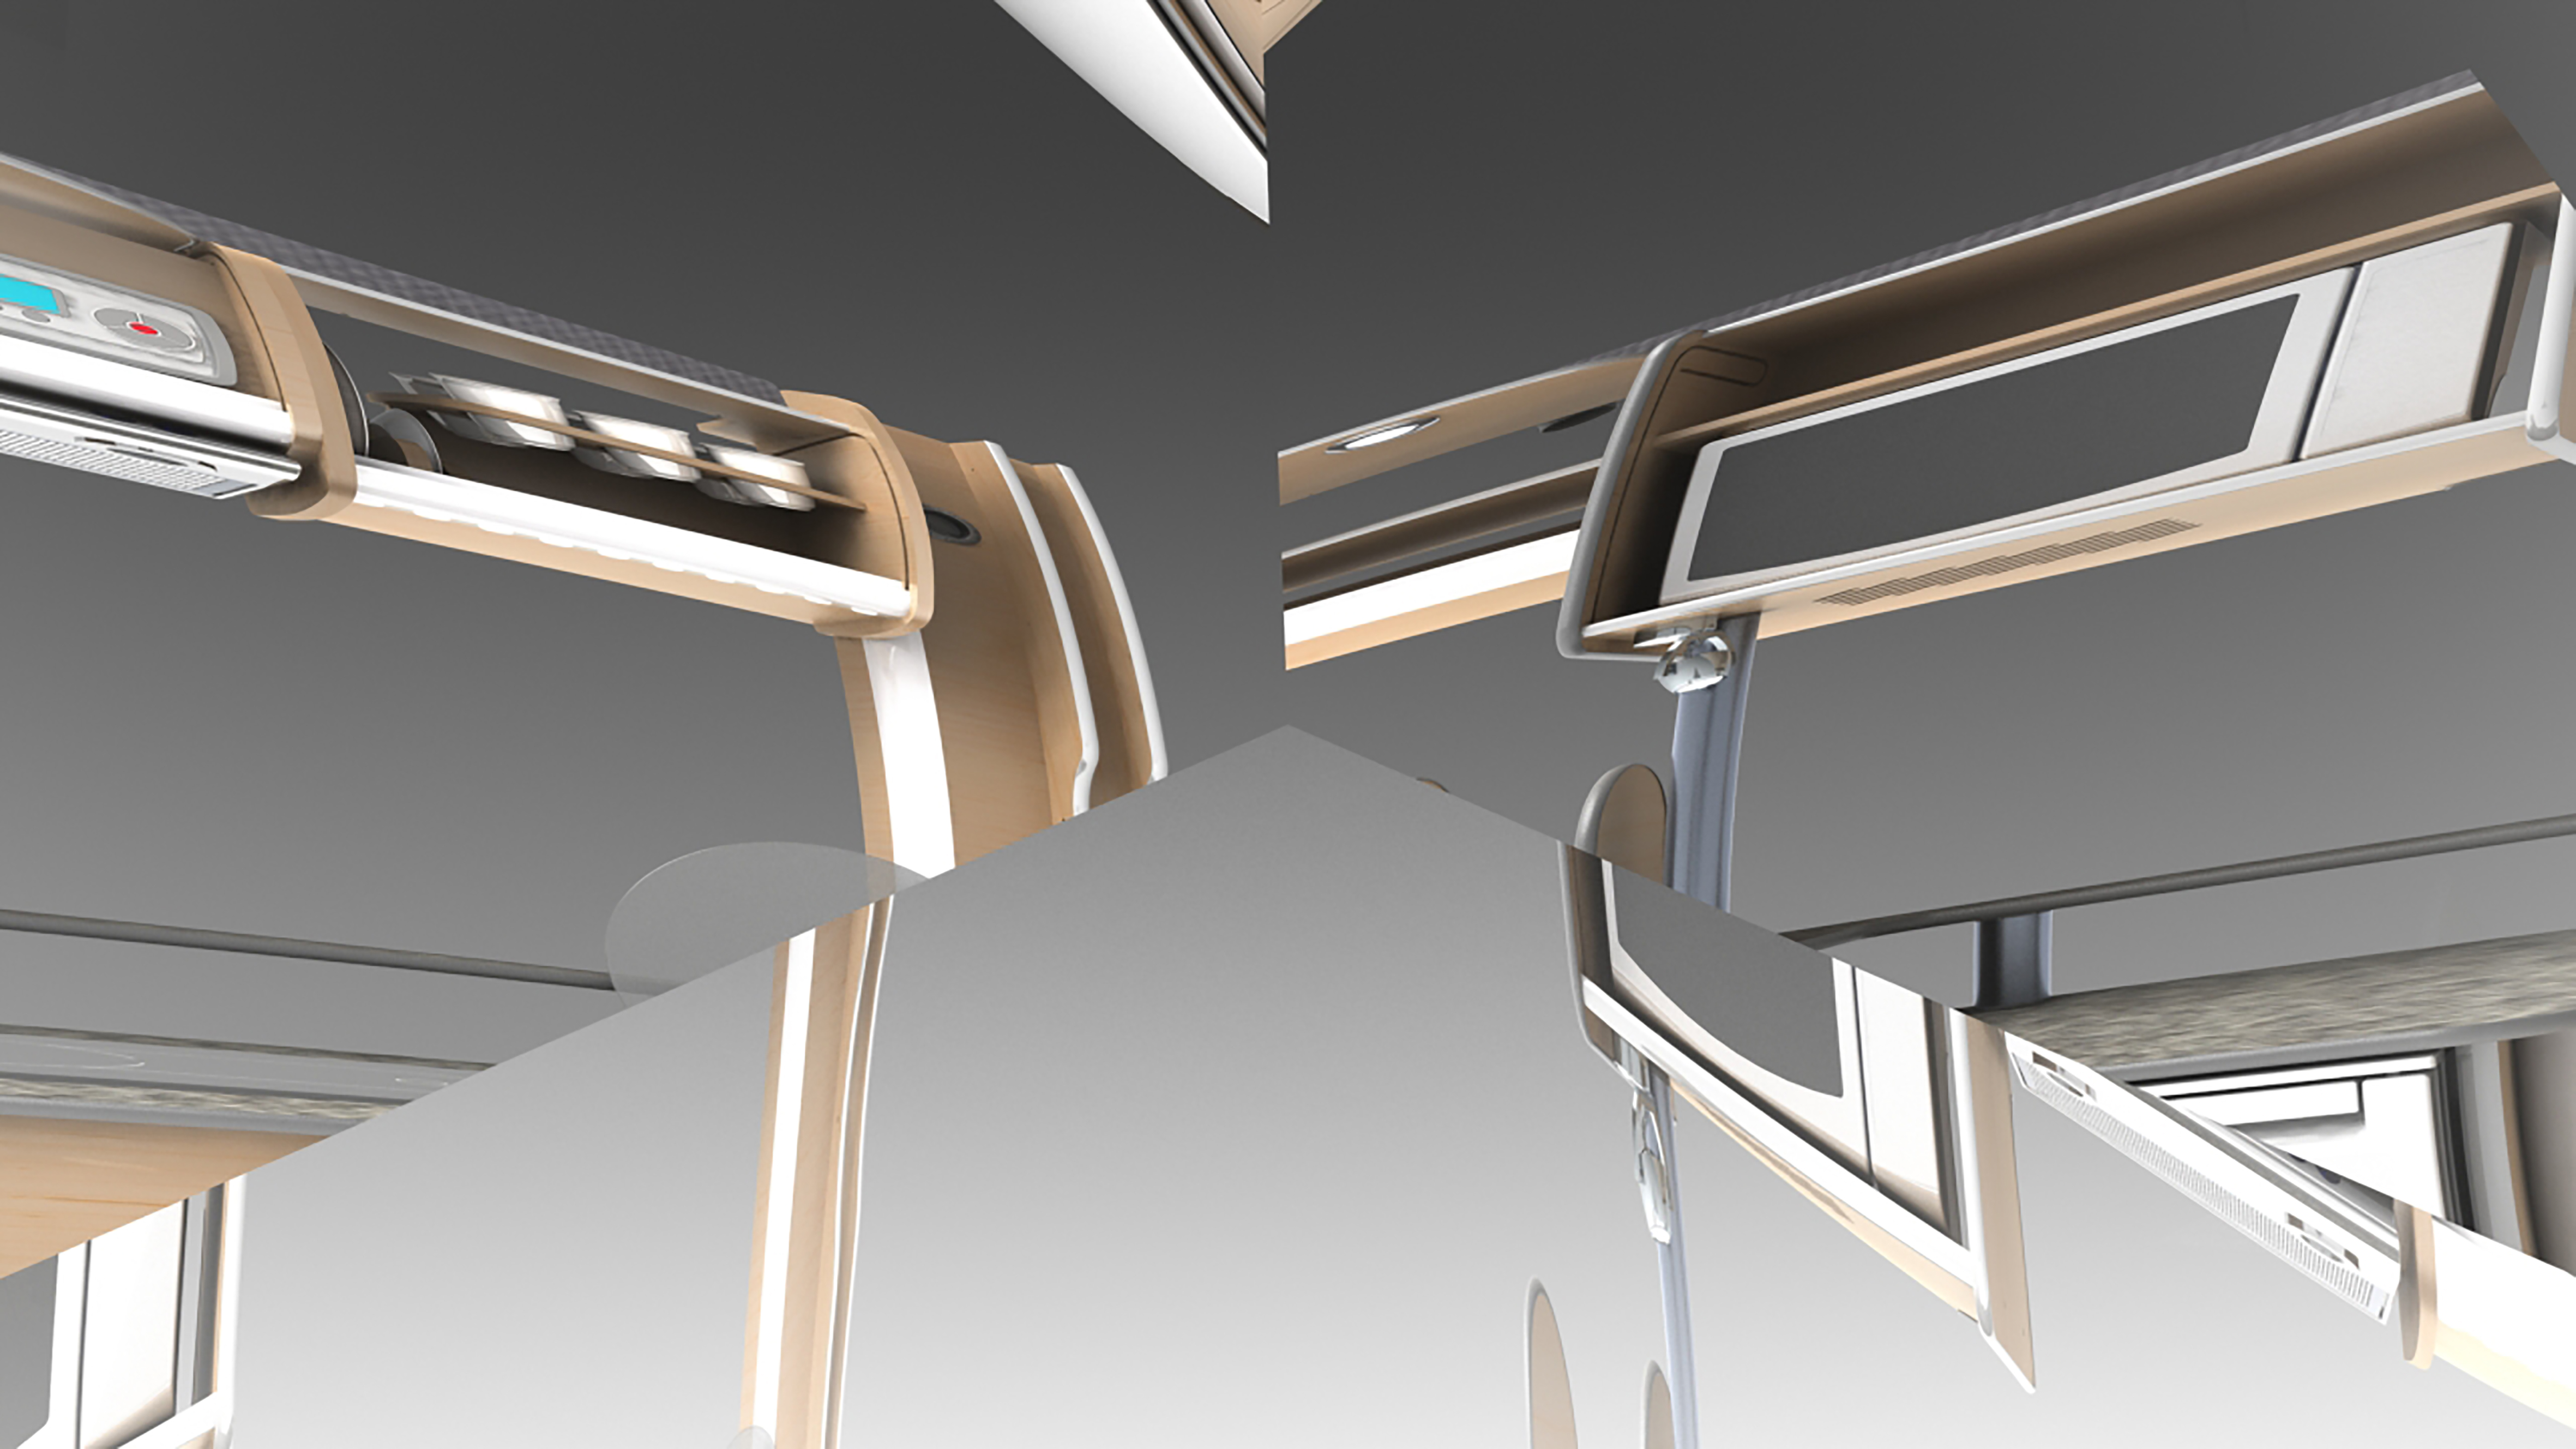
 Well depending where the camera was pointed, either through an edge
 or the vertex! You get some different results! Don’t think it suits the cabinet too much but some interesting results anyway.
That proved to be a interesting exercise! Sometimes when the camera is just not enough and you want something different, try something different.

Leave a comment