
I always try to find a couple hours during the month to put together some sort of entry for the Render Contest It’s a good opportunity to try a few things with PhotoView 360! Now if I only took my own advice! If you have ever seen anything that I have Rendered in PhotoView 360 it is all about wide camera angles and high on reflection! I’ve become a one trick pony! It’s a good trick! But still ………… it’s time to look at a few different things.
So instead of making this model all high gloss plastic, shiny and reflective. I thought I try to give it a woollen fabric look!
Add Appearances of Cotton and Carpet

And you get a nice simple render ….. with a pattern fabric look! But I wanted more! A more defined textured rougher look!
RMB (Right Mouse Button) on the Selected Appearance gives you the option to Edit Appearance

Select the Advance Tab and then Select Surface Finish. You will then see the PhotoView Surface Finish. Select (Tick) Bump Mapping and Displacement Mapping. Selecting Dynamic Help gives you an explanation and visual clue of what each does.
Bump Strength

Displacement Distance

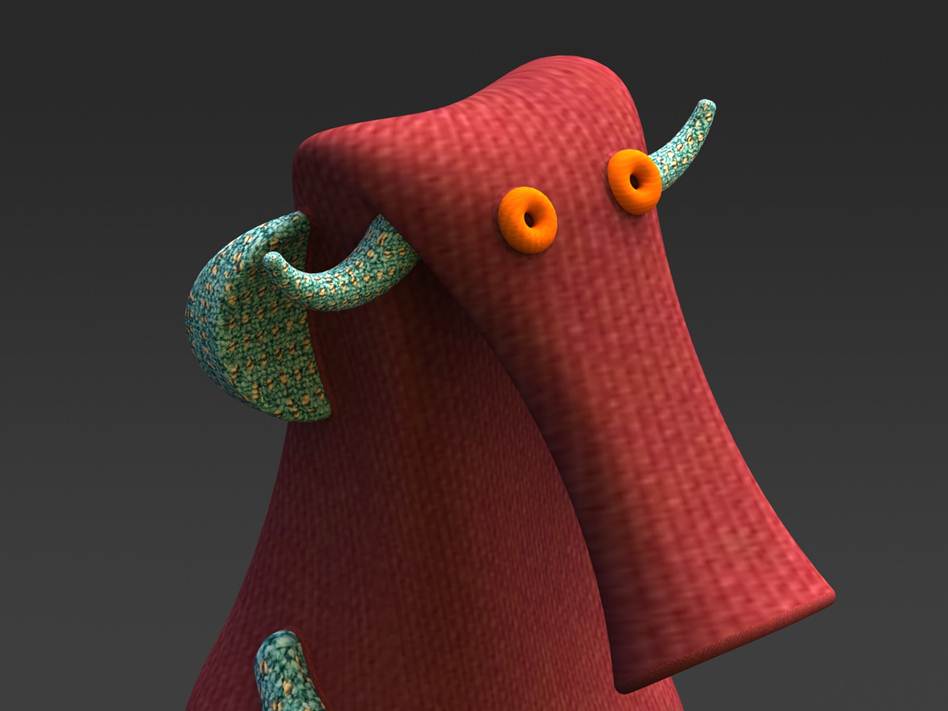
Run the Render Preview window and adjust the Bump Strength and Displacement Distance to suit! Getting a little carried away with the Displacement Distance here!

Edit all the required Appearances and run the Render! …………….. A rough textured woolly toy!

Now it I just crank up the Camera to 24° ………………………………… And maybe add a mirror!

Leave a comment